Showing posts with label tutorials. Show all posts

Hokuri Nail Tutorial

Screen Shot 2013-07-30 at 3.07.46 PM

Screen Shot 2013-07-30 at 3.14.04 PM


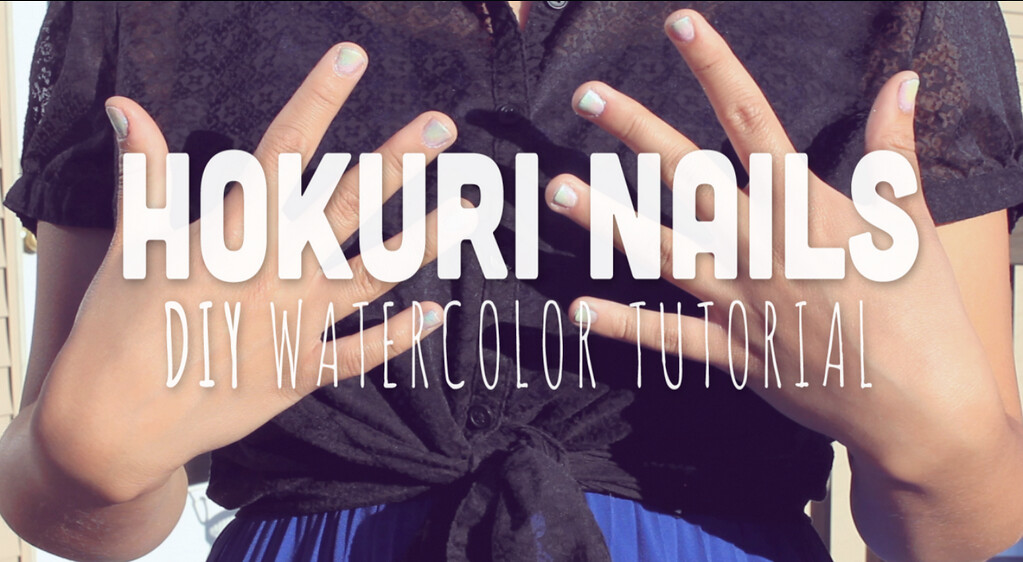
My friend, Lauren who is a video artist wanted to create a diy for her film reel, so I got the opportunity to collaborate with her. The concept was her idea, and I just did the hand and nail modeling. She did the editing, typography, and everything. She's talented isn't she!?

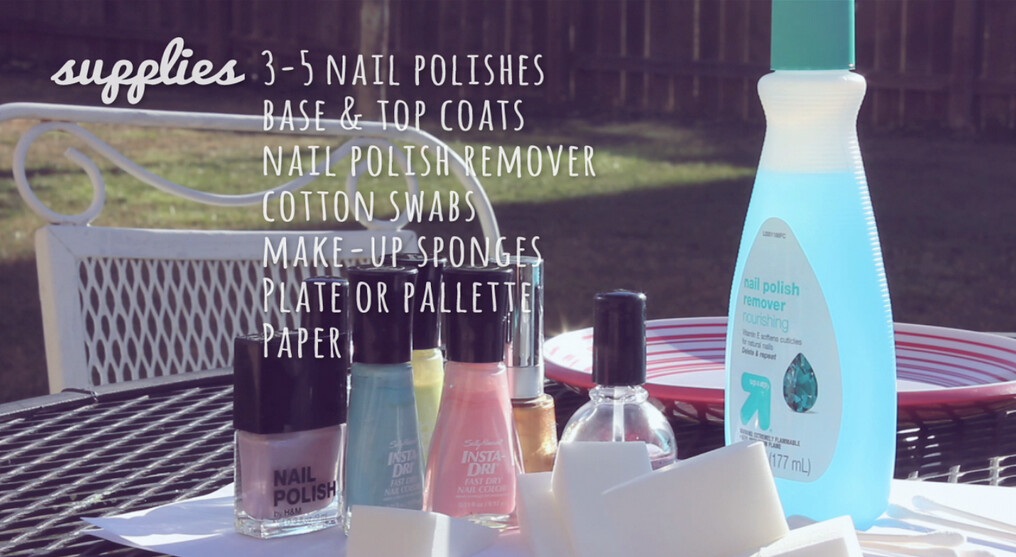
Anyways, this Hokuri nail tutorial is very simple and easy to follow! You can choose whatever colors you want to use and as many as you want of course. We used pastels and it created a really beautiful watercolor feel that's perfect for spring and summer, but I would love to try it with metallics or darker colors sometime.

Will you try this tutorial?

Style your pretty nails with a lovely pastel dress!

Easy floral headband

floralheadband

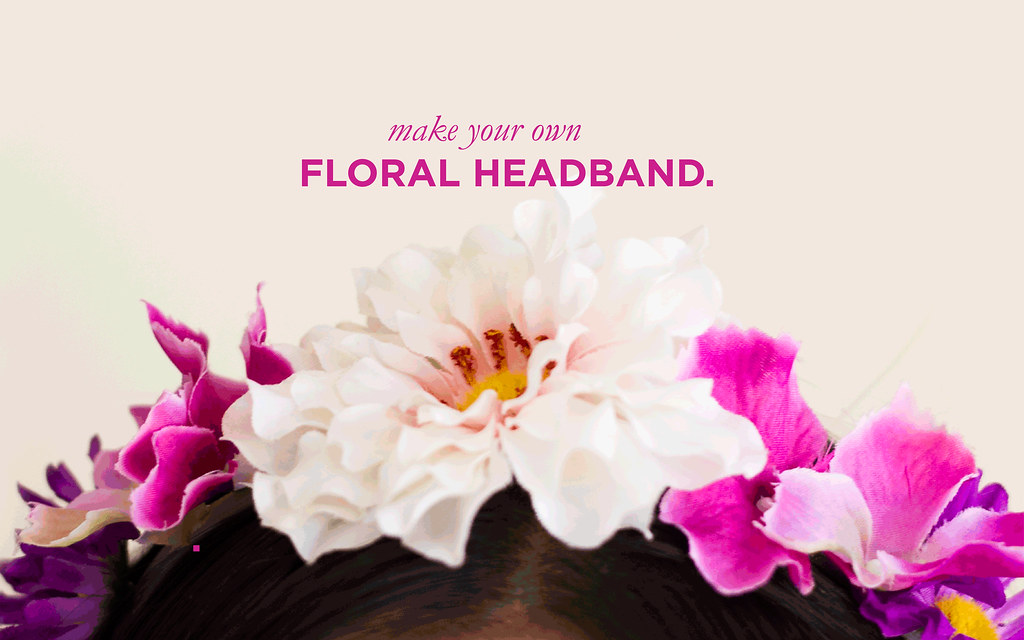
I love a good floral headband, and decided to go ahead and make myself a few and now I would like to teach you how to do it. It's very easy and fairly inexpensive.

floralheadband2

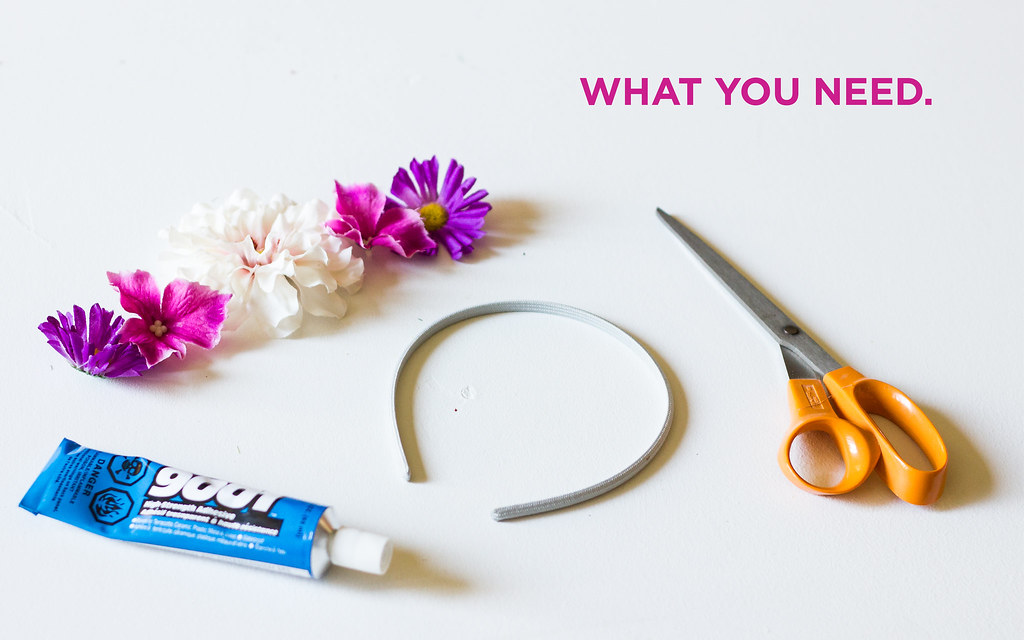
What you need.

- fake flowers (I grabbed a few from a bouquet)
- a headband (I got a pack of 5 from Hobby Lobby from $3)
- scissors (a nice sharp pair)
- glue ( I used 9001 high-strength adhesive)

floralheadband3

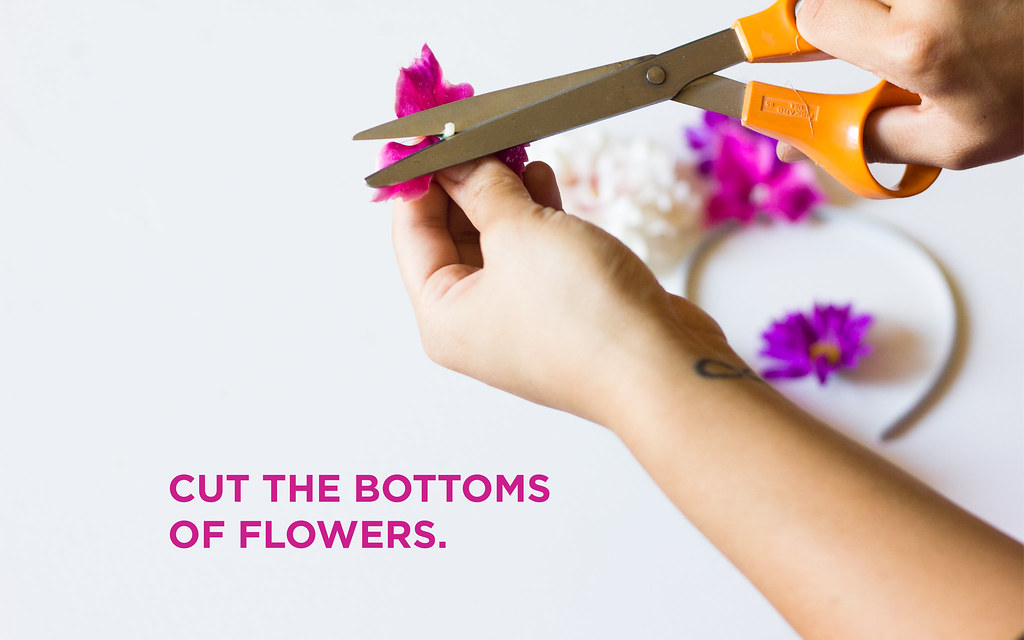
First, you cut off the bottom of the flower, the part that connects to the stem because you want a flatter surface to glue. Do that which each flower.

floralheadband4

floralheadband5

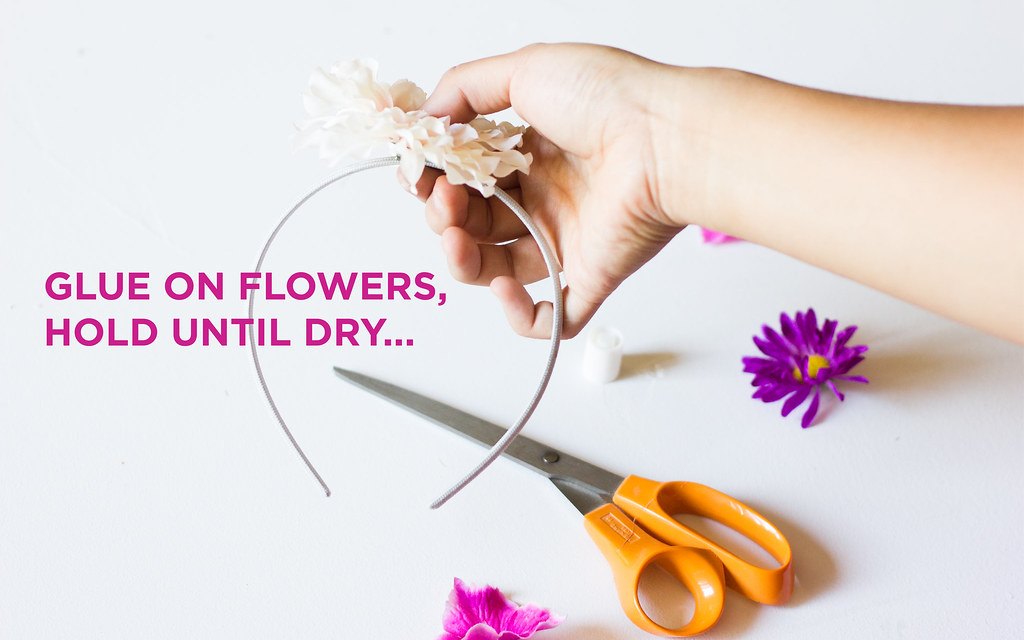
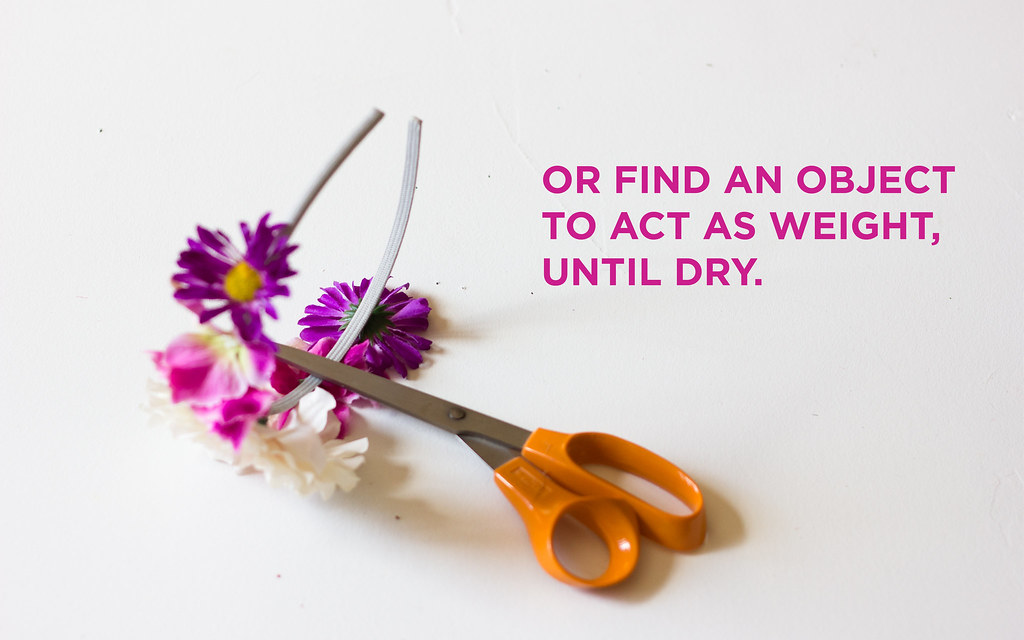
Then, use your glue (you only need a small amount) and apply a dot on the back of the flower, then wait for it to dry. You can either hold it until it dries or find something to keep weight on the headband and flower.

floralheadband6

floralheadband7

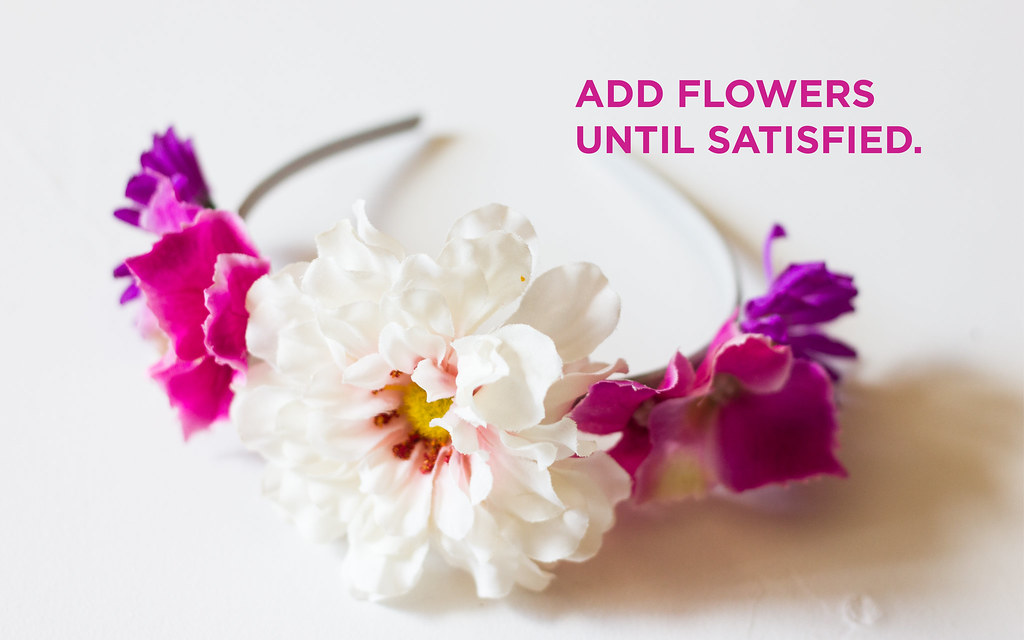
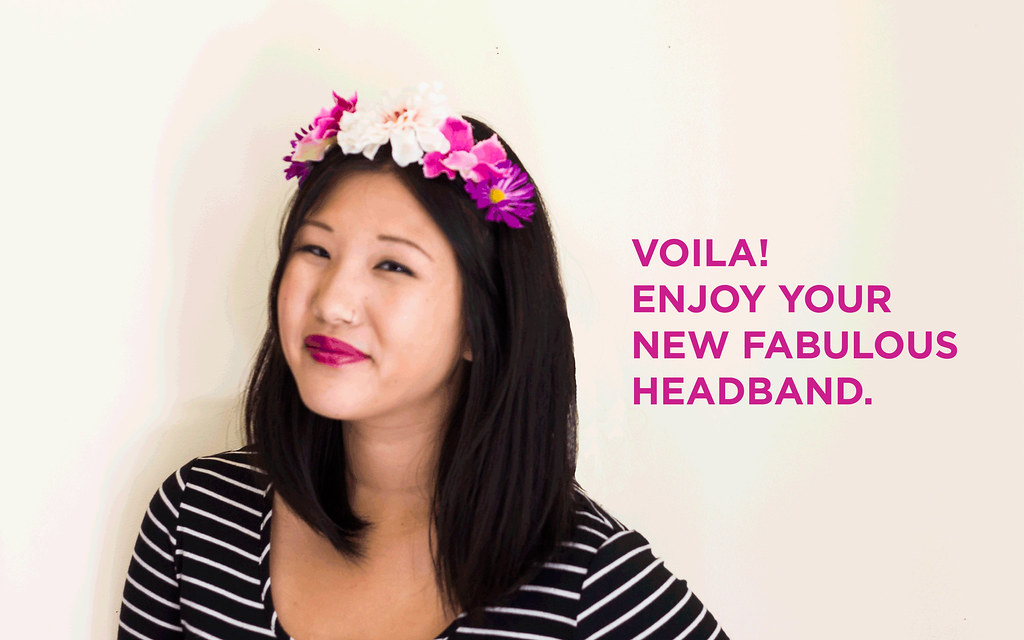
I ended up adding seven flowers total! I love how simple it is, and it's a great accessory in the summer time for music festivals and everything else!

If you decide to try this d.i.y. please, link me to some photos! I would love to see what you come up with.

Nail tutorial v1: Starburst nails

nails12
nails2
nails4

WHAT YOU NEED:


1

1. File, buff and smooth your nails with your filer, and 3-way buffer. This will allow for a smooth application of nail polish. Also, if you have any, use some nail cuticle oil to soften the cuticles and prevent dry skin.

2. Rip off 10 pieces of tape and use your pen to draw a starburst shape on each piece of tape. Make sure you draw smaller starbursts for your pinkies, and larger starburst for your thumbs. The remaining starbursts can be around the same size. You can create a template, or just freehand them like I did.

2

3. Cut out each of the starbursts shapes you just drew carefully with your scissors.

3

4. Paint two coats of the mint green nail polish. Wait for them to dry, completely before moving on to the next step.

4

5. Cover each nail with the tape (including the cut-out starburst shapes you prepared earlier). Make sure that the tape is secure, and pressed down on your nails.

5

6. Paint two coats over the exposed part of your nails.

6

7. Let your nails dry completely before moving on to the next step.

7

8. Slowly and carefully peel off each piece of tape, and voila, you have gorgeous starburst nails.

EXTRA TIPS:

  • Use a clear base coat before you apply the mint green nail polish.
  • Use a clear top coat to protect the layered of nail polish.

A big thank you to Lauren for being my lovely hand model and for letting me try this fabulous tutorial on her nails. We got the idea for this tutorial from here.

Will you be using the tutorial?

PS: Happy New Year everyone!

Hair tutorial v3: how to curl/wave your hair


Here is a video featuring the lovely hairstylist, Sam Majewski, who also helped do the Victory Rolls tutorial and the Beehive tutorial. I asked her if she would show me how to curl and wave my hair, because I honestly don't know how to do it correctly, nor have I ever tried very hard. I felt like it would help make my long hair worth keeping for a while longer! It worked. I don't want to cut my hair anymore, by the way! I love the way the loose waves look, if you didn't see my post from yesterday, check it out here! It was the first time I created loose waves in my hair successfully! I even watched the video before I did so.

She demonstrates how to create a spiral curl and a loose wave.

I'm not afraid to admit I never knew how to curl or wave my hair, but I'm so excited with this new simple skill! I hope you decide to give it a try, if you need a little help/push to try new things as well or maybe you'll find some tips that are helpful as well.

Here is what you will need:

  • A curling iron
  • hairspray 

Here are a few tips (watch the video above for more) and recommendations from Sam:

  • Use hairspray to set your hair before you start
  • For longer hair use a 1 1/4 inch iron, for medium length hair use a 1 inch iron
  • If you have layers an shorter hair, use a smaller iron to get a curl, like a 1/4 inch iron
  • If you want to use shine serum or gloss spray rub it in your hands before application to add definition to the curls and so it won't get greasy
  • Do NOT touch your hair while the curls or waves are still warm
  • Bumble and Bumble classic hair spray

Here is a photo of the loose waves I did, after re-watching this video:

waves

Will you use this tutorial?

Hair tutorial v2: Beehive


The end result:

beehive
what i wore: light blue peter pan collar top thrifted, vintage glasses from Market Day, 'picnic' shorts made by me available in my etsy shop (shown in video)
beehive2

beehive3

beehive4

Hi all, this is the second of a few tutorials that I am going to be working on with the lovely Sam Majewski, a local hairstylist that I am collaborating with. Today we are doing a wonderful beehive. Hope you enjoy and I can't wait to try this on my own one day. Don't forget to check out the rockabilly victory roll tutorial.

Here is what you will need:

  • A curling iron or straightener (to curl your hair)
  • Bobby pins
  • A tail comb
  • Hairspray

Here are a few extra tips and product recommendations from Sam:

  • When teasing the hair, try using a 1,2,3 rhythm so that you get a consistent look.
  • Be careful not to comb out the ratting when you're smoothing out the top.
  • Make sure you use a rat tail comb so you can pull up hair if anything if uneven or you need more volume.
  • Rene Furterer hairspray.
  • Rene Furterer spray gloss.

Here are some examples of dresses from Modcloth, that you could wear with this hairstyle:

Beehive

Be sure to check out the video tutorial above for more tips and tricks. Also, I'm sorry for the bad angle of the camera. We'll try a more close-up view for the next tutorial! I hope you are enjoying these!

Will you try this?

Hair tutorial v1: Rockabilly Victory Rolls


The end result:

full copy
what i wore: high waisted floral shorts from Forever 21, heart detailed belt and yellow leaves top thrifted, cardigan from H&M, and Seychelles Hawk wedges (not shown)
rockabillyhair

me

Hi all, this is one of a few tutorials that I am going to be working on with the lovely Sam Majewski, a wonderful local hair stylist. Hope you enjoy and I can't wait to try this on my own one day.

Here is what you will need:
  • A curling iron or straightener (to curl your hair)
  • Bobby pins
  • A comb (preferably with a tail)
  • Hairspray
  • A smoothing brush
Here are a few extra tips and product recommendations from Sam:
  • When curling your hair, do NOT touch your curls when they are warm. Let them cool off, and they will last longer.
  • Use hairspray to prep your hair so it holds better.
  • Rene Furterer okara conditioning spray is a leave in, detangling heat protestant. It has SPF so it protects colour from the sun. It's perfect for anyone.
  • Prive shining weightless amplifier is like a root lift. It has the consistency of a gel and a mousse. It's amazing for volume.

    Here is a little more information about her and a picture of course:

    sam

    "I studied hair at La'James International College of Cosmetology in Cedar Falls. I've been in the industry since 2007. I've been to San Francisco and New York for training. I picked this career because it's the only thing I could see myself doing when I grow old. I never saw it as a career that made people feel good, but a month after being behind the chair I definitely knew that my ability to take care of a client affected her mood. I now see myself as a day maker. People come to me when they're having a bad day, need to vent or just want to be pampered and touched. My favourite services to perform are cut and colour. I get more control over the end result when I can do both. Sometimes women have awesome hair colour but the cut just doesn't tie it together and vise versa. My goal is to be a salon owner and educator some day. I'd really love to travel to other cities and teach colouring techniques and theory. Colour theory is my favourite. "

    Also, don't forget to check her out on Style Seat to see what other amazing things she has done with hair! Here is the website of the salon she works at, Salon de Vallon, and their facebook page.

    Here are some suggestions of dresses from Modcloth that you could wear with this hairstyle:

    Styling a Rockabilly hairstyle


    Will you try this hairstyle?

    My MAC makeover

    9311-41

    9311-42

    9311-43

    9311-44

    9311-45

    9311-46

    9311-47

    9311-48

    9311-49

    9311-50

    9311-51

    My friend Brooke, recently got landed a job at a MAC cosmetics counters, and they were having an event so she wanted me to go in and get my makeup done. How could I turn that down, am I right?! I also wanted some new products!

    So, I was hesitant about trying this dark of a lipstick, but I actually quite like it! I have went to the Iowa football game yesterday, and besides the sudden downpours, it was fun! I have also been taking a break from everything with my boyfriend in Iowa City!

    If you're interested here's a list of the products we used that Brooke put together for all of you:

    For the Face
    Prep + Prime skin
    NC20 Select SPF 15 foundation
    Give me sun mineralize skinfinish natural bronzer
    Soft and gentle mineralize skinfinish for highlight

    For the Eyes
    Painterly Paint Pot
    Goldenrod eyeshadow on lid
    Embark and Texture eyeshadows mixed on crease
    Avenue fluidline for liner
    Haute and Naughty mascara

    For the Cheeks
    Peaches blush

    For the Lips
    Currant lip liner
    Prince Noir lipstick
    Venetian Lustreglass
    So, yes you got to see me without makeup! It won't happen very often, but I'm not ashamed! I ended up getting the Soft and gentle mineralize skinfinish, Give me sun mineralize skinfinish natural bronzer, and Peaches blush. I use them everyday and I am in love and totally recommend everything she used, I love how it all looked! Also, I am working on some shorts I hope to put up soon!

    Hope you are all having a wonderful weekend! I'd love to hear about it.

    Oh and a big thank you to my friend Rachel for being the photographer!

    DIY Market + Everyday bag

    diy, everyday, market bag, tutorials, easy market bag tutorial, easy bag diy, color bag diy, navajo print bag tutorial, how to make an easy bag

    diy, everyday, market bag, tutorials, easy market bag tutorial, easy bag diy, color bag diy, navajo print bag tutorial, how to make an easy bag

     What I used:
    • sewing machine
    • needle
    • thread
    • rug (or 17 x 36 in piece of fabric)
    • pins
    • thin double wrap belt

    diy, everyday, market bag, tutorials, easy market bag tutorial, easy bag diy, color bag diy, navajo print bag tutorial, how to make an easy bag

    1. Lay out how you want your bag to look. Start off my measuring 30 inches, fold that 30 inches of fabric in half and that will be the body of your bag, the remaining six inches is going to be the flap.

    diy, everyday, market bag, tutorials, easy market bag tutorial, easy bag diy, color bag diy, navajo print bag tutorial, how to make an easy bag

    diy, everyday, market bag, tutorials, easy market bag tutorial, easy bag diy, color bag diy, navajo print bag tutorial, how to make an easy bag

    2. (Optional) Pin down a half inch of the top of the flap from the inside. I only did it because the edge was rough I wanted it a little more refined. Then you sew!

    diy, everyday, market bag, tutorials, easy market bag tutorial, easy bag diy, color bag diy, navajo print bag tutorial, how to make an easy bag

    3. Turn the bag inside out, pin down the sides of the body of the bag and sew! It doesn't look like it, but I ended up sewing it about an inch in.

    diy, everyday, market bag, tutorials, easy market bag tutorial, easy bag diy, color bag diy, navajo print bag tutorial, how to make an easy bag

    diy, everyday, market bag, tutorials, easy market bag tutorial, easy bag diy, color bag diy, navajo print bag tutorial, how to make an easy bag

    4. On the inside of the flat fold down about an inch on each side and pin down. I used a hand sewed an invisible seam technique my mom showed me, I'm not sure what it's called. I didn't want the thread to be visible on the sides of the flap.

    5. For the strap I used a black leather double wrap belt. I used the hand sewn invisible stitch along the belt, and as you can see I put the belt right where the opening and flap meet, and aligned it with the black stripe (I got lucky!).

    6. (Optional) Tie the wrap belt in a bow.

    Remember:
    You have the option of using any type of belt or strap for this bag!

    Oh, and yes this bag does have a few defects, including a couple of wholes in the fabric, that's why I'm keeping it for myself! 

    diy, everyday, market bag, tutorials, easy market bag tutorial, easy bag diy, color bag diy, navajo print bag tutorial, how to make an easy bag

    Voila! Your bag is finished. Now you have an everyday bag you can use to go to the market, shopping, the beach, the pool, or anything!

    Here are some outfits I wore:

    diy, everyday, market bag, tutorials, easy market bag tutorial, easy bag diy, color bag diy, navajo print bag tutorial, how to make an easy bag, how to style a slouchy bag

    1, 2

    Don't want to make one of your own? I am thinking about making some more bags out of different materials and selling them! Stay tuned. I will definitely post about this if it happens. Also, I will have a DIY studded denim shorts post coming up soon!

    Will you make this bag? What have you DIYed lately?